
'설마 이런 것도 되겠어? 이건 개발자가 할 일인데...'
'헉... 진짜 다 되네... 초/중급 개발자 일자리 날아가겠는걸...'
chatgpt에 네이버 뉴스 기사 크롤링을 시켰는데, 정말 찰떡같이 잘 만드네요.
대충 지시를 했는데 마음에 속 들게 코드를 작성했습니다.
지난번 네이버 뉴스 크롤링 영상을 위해 파이썬 코드를 직접 작성했었는데요.
이걸 chatgpt에게 작성하라고 시켜봤어요. 제가 작성한 코드와 조금 차이는 나지만 정상적인 결과를 가져왔습니다. chatgpt와 의 대화입니다.

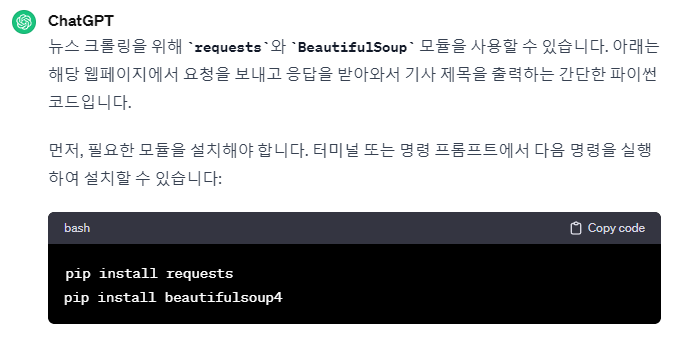
친절하게 필요한 모듈 설치부터 안내합니다.
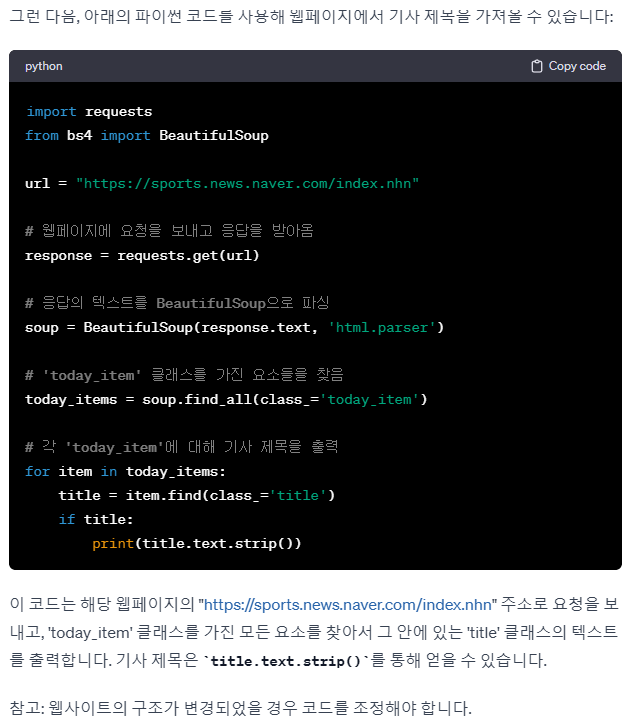
실제 크롤링 코드를 작성합니다. 웹 사이트 변경될 수 있다는 주의도 주네요.
블로그 포스팅 자동화로 방문자 10배 늘린 실전노하우 - 크몽
디마드 전문가의 전자책 서비스를 만나보세요. * 업데이트- 초보자를 위한 친절한 강의 영상을 제작했습니다. -지금까지 96권이 판매되었...
kmong.com
같은 방식으로 뉴스 기사내용, 기사 링크, 썸네일 이미지를 추출해 출력하는 코드를 작성해 달라고 했습니다.


https://kmong.com/self-marketing/488851/2pkqjX8J4K
상위 1프로만 알고 있는 티스토리 자동 포스팅 만들기 - 크몽
디마드 전문가의 VOD 서비스를 만나보세요. 안녕하세요. 디지털 노마드를 꿈꾸는 디마드입니다.#크몽에서 이미 100부 가량 판매된 ...
kmong.com
ChatGpt 최종 작성항 코드입니다.
import requests
from bs4 import BeautifulSoup
import csv
url = "https://sports.news.naver.com/index.nhn"
# 웹페이지에 요청을 보내고 응답을 받아옴
response = requests.get(url)
# 응답의 텍스트를 BeautifulSoup으로 파싱
soup = BeautifulSoup(response.text, 'html.parser')
# 'today_item' 클래스를 가진 요소들을 찾음
today_items = soup.find_all(class_='today_item')
# CSV 파일에 저장할 데이터 리스트
data_list = []
# 각 'today_item'에 대해 기사 제목, 뉴스 기사, 기사 링크, 기사 사진을 출력
for item in today_items:
title = item.find(class_='title')
news = item.find(class_='news')
link_today = item.find(class_='link_today')
image_area = item.find(class_='image_area')
if title and news and link_today and image_area:
# 데이터를 딕셔너리로 저장
data = {
"기사 제목": title.text.strip(),
"뉴스 기사": news.text.strip(),
"기사 링크": "https://sports.news.naver.com" + link_today.get('href'),
"기사 사진": image_area.find('img').get('src')
}
data_list.append(data)
# CSV 파일로 저장
csv_filename = "sports_news.csv"
csv_columns = ["기사 제목", "뉴스 기사", "기사 링크", "기사 사진"]
with open(csv_filename, 'w', newline='', encoding='utf-8') as csv_file:
writer = csv.DictWriter(csv_file, fieldnames=csv_columns)
# CSV 파일에 헤더 쓰기
writer.writeheader()
# 데이터 쓰기
for data in data_list:
writer.writerow(data)
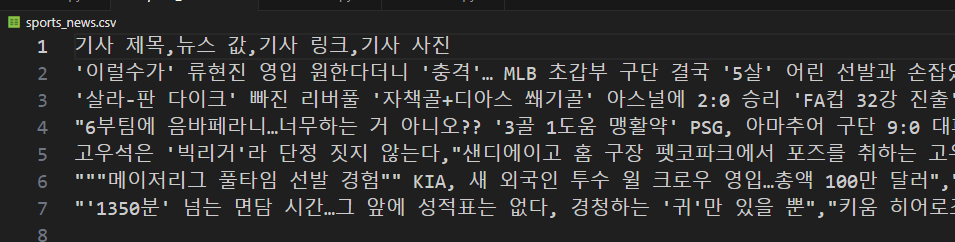
print(f"데이터가 {csv_filename} 파일로 성공적으로 저장되었습니다.")프로그램을 실행해 보면 다음과 같이 출력됩니다.
그러면 사람이 짠 코드와 비교를 해봐야겠죠. 아래는 제가 작성했던 코드입니다. 차이가 있다면 결과 추출을 위해 사용한 메쏘드가 다릅니다. 그 외 루핑을 이용해 여러 개의 기사를 출력하는 방식은 동일합니다. 명령 프롬프트만 더 정교하게 준다면 더 괜찮은 코드가 나올 것 같습니다.
import requests
from bs4 import BeautifulSoup

url = "https://sports.news.naver.com/index.nhn"
response = requests.get(url)
html = response.text
soup = BeautifulSoup(html,"html.parser")

items = soup.select(".today_item")
for item in items:
    # title = item.select_one(".title").text
    title = item.select_one(".text_area").select_one(".title").text
    content = item.select_one(".news").text.strip()
    link = f"https://sports.news.naver.com{item.select_one('.link_today').get('href')}"
    image = item.select_one(".image_area").select_one("img")["src"]
    print(f"{title} ; {content} ; {link} ; {image} ")
    print()
https://smartstore.naver.com/keywordgo/products/7880550903
블로그 포스팅 자동화로 방문자 10배 늘린 실전 노하우 : 키워드고
[키워드고] Hot! 찜한 상품은 다 찾아주는 스마트 쇼핑
smartstore.naver.com
'코드리뷰' 카테고리의 다른 글
| ChatGPT 비트코인 ETF 승인 났어? (3) | 2024.01.11 |
|---|---|
| 희찬이를 위한 네이버 뉴스 웹크롤링, 파이썬 코드 16줄로 완성하기 (0) | 2023.12.31 |
| 프리미어리그 황희찬, 손흥민 골 넣었어? 최신 네이버 스포츠 뉴스 크롤링 (0) | 2023.12.25 |


댓글